NevarokML: Reinforcement Learning
NevarokML is a powerful machine learning plugin for Unreal Engine that allows developers to implement reinforcement learning (RL) capabilities within their projects. By creating a custom environment and agent, developers can train RL models to optimize agent behavior and accomplish specific tasks. This documentation page will guide you through the process of setting up and performing reinforcement learning using NevarokML in Unreal Engine.
Prerequisites
Before you begin, make sure you have the NevarokML plugin installed in your Unreal Engine project. Follow the installation instructions to integrate it into your project.
Creating the RL Environment
Creating a Blueprint Derived from ANevarokMLEnv
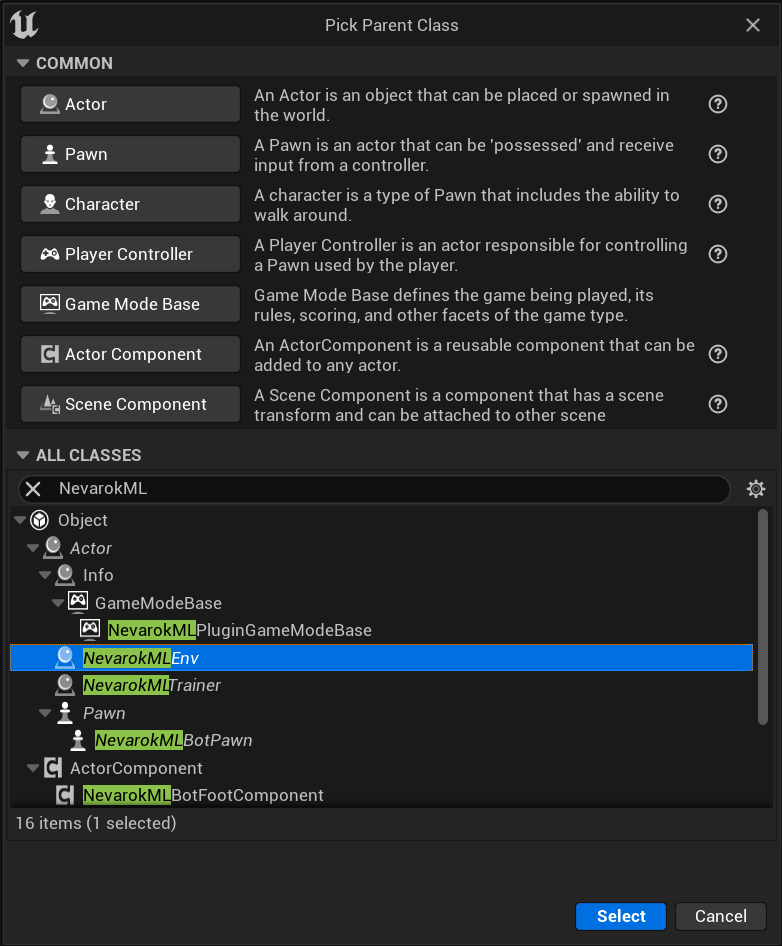
To create the RL environment, you need to create a Blueprint class that derives from ANevarokMLEnv. This Blueprint will define the interactions between the agent and the environment.
- In the Content Browser, right-click and create a new Blueprint Class.
- Search for "NevarokML" and select "ANevarokMLEnv" as the parent class.
- Name the Blueprint class, e.g., "BP_BasicEnv," and click "Create."
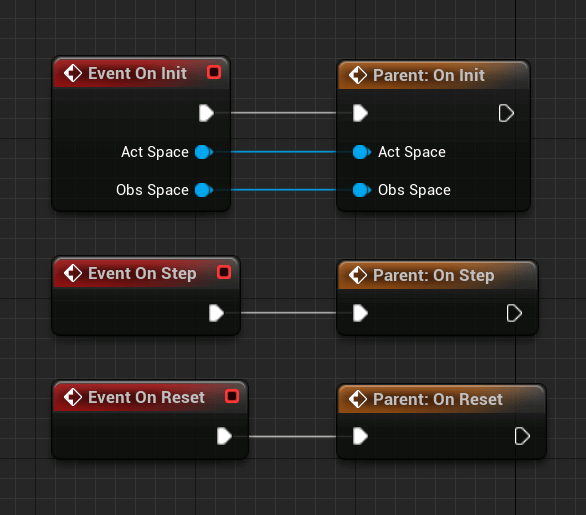
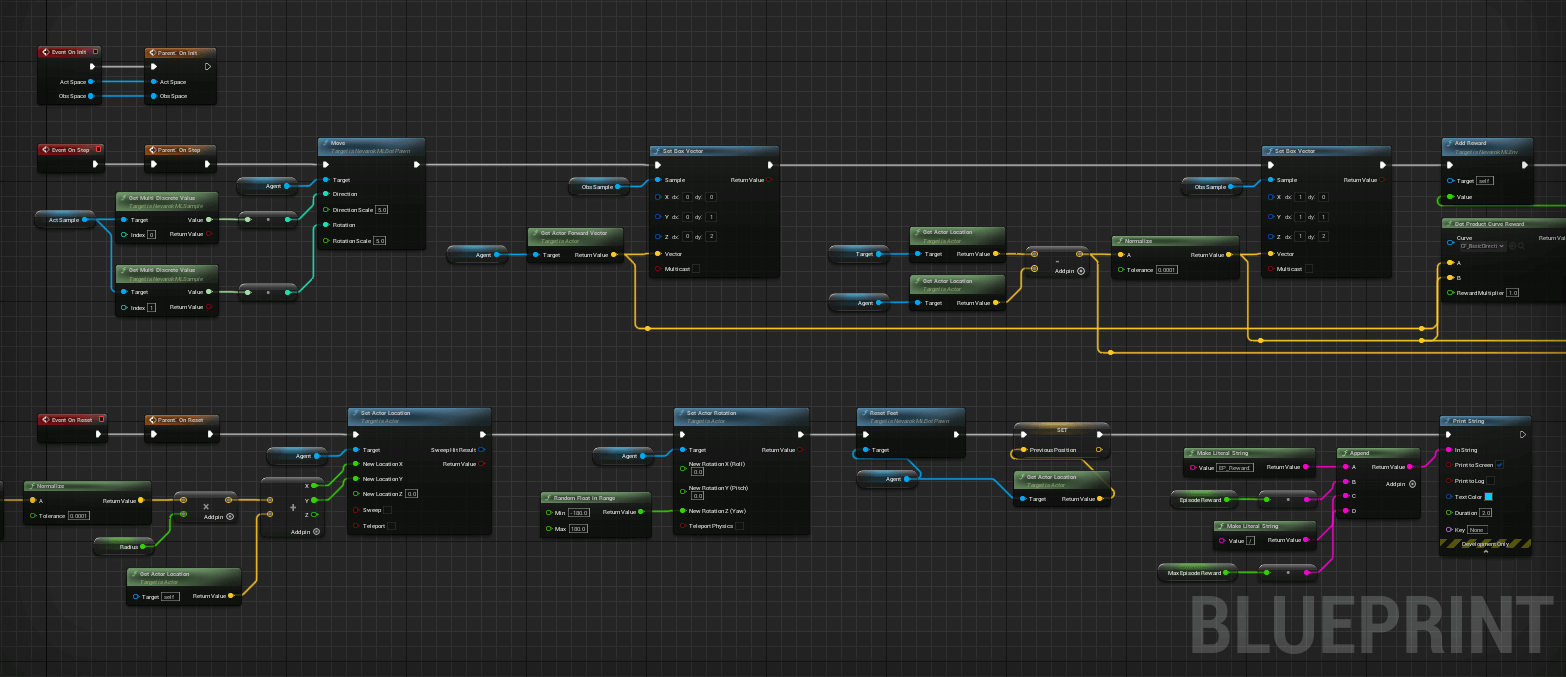
Implementing OnInit, OnStep, and OnReset Events
In the BP_BasicEnv Blueprint, you need to implement the OnInit, OnStep, and OnReset events. These events define how the environment initializes, updates during each time step, and resets when an episode is complete.
- Open the BP_BasicEnv Blueprint in the Blueprint Editor.
- In the Event Graph, create Event Graph nodes for OnInit, OnStep, and OnReset.
- Implement the functionality for each event based on your RL environment's specific requirements.
- Use NevarokML API to update observations, perform actions, add rewards, and check for episode completion.
Creating the RL Trainer
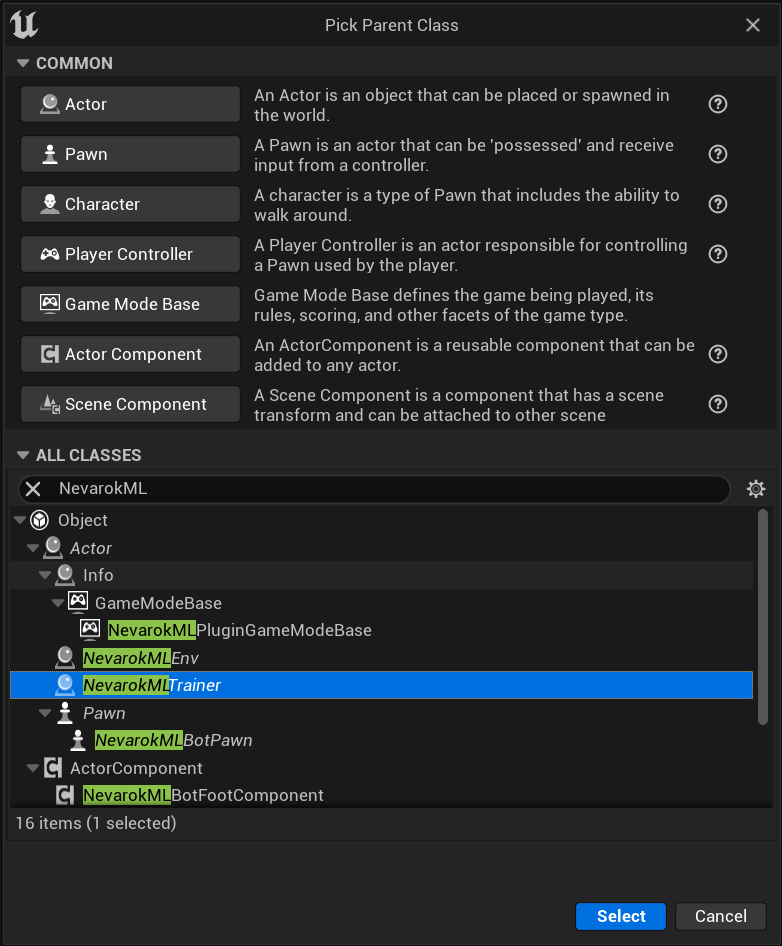
Creating a Blueprint Derived from ANevarokMLTrainer
To create the RL trainer, you need to create a Blueprint class that derives from ANevarokMLTrainer. This Blueprint will define the learning process and control the RL environments.
- In the Content Browser, right-click and create a new Blueprint Class.
- Search for "NevarokML" and select "ANevarokMLTrainer" as the parent class.
- Name the Blueprint class, e.g., "BP_BasicTrainer," and click "Create."
Implementing OnConstruct and OnStart Events
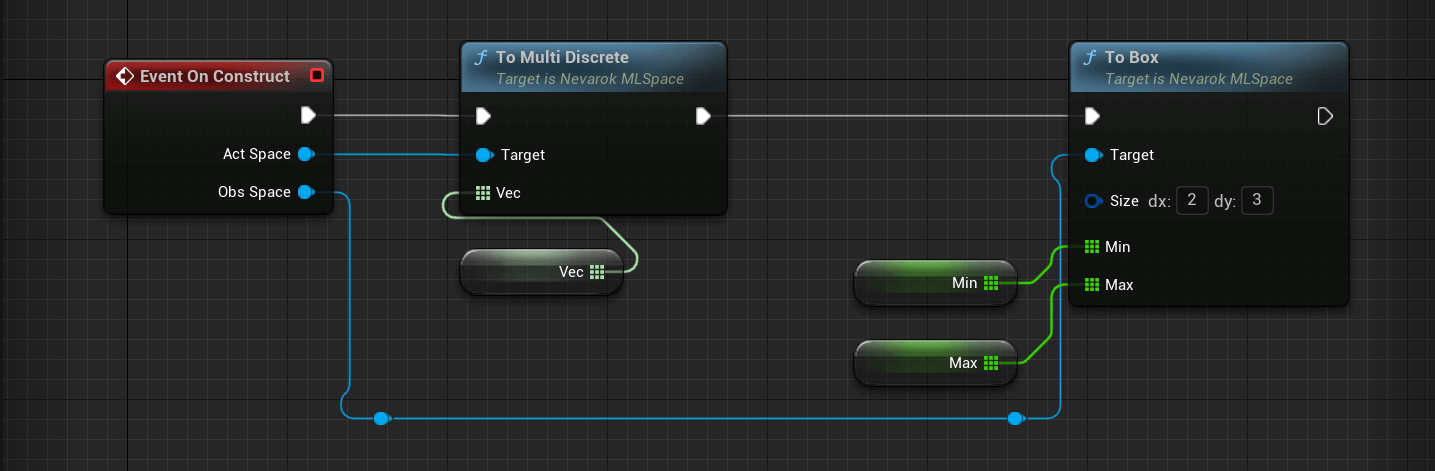
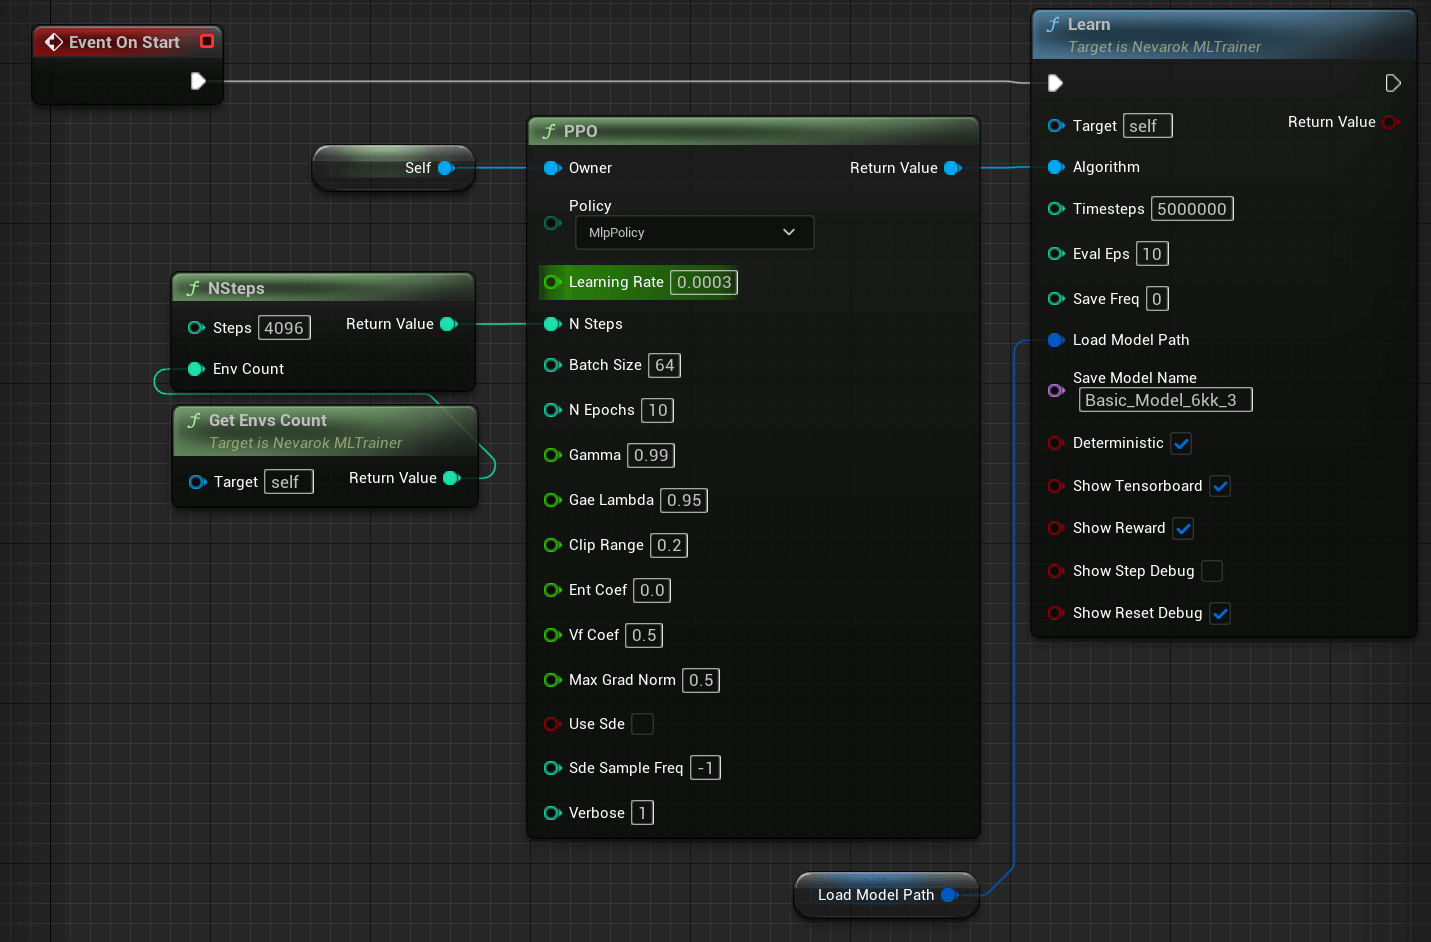
In the BP_BasicTrainer Blueprint, you need to implement the OnConstruct and OnStart events. The OnConstruct event sets up the agent's observation and action spaces, while the OnStart event starts the learning process.
- Open the BP_BasicTrainer Blueprint in the Blueprint Editor.
- In the Event Graph, create Event Graph nodes for OnConstruct and OnStart.
- In the OnConstruct event, use NevarokML API to update the agent's observation and action spaces according to your needs.
- In the OnStart event, call the Learn function to initiate the learning process.
- Use the NevarokML API to create the preferred RL algorithm (PPO, DQN, etc.) and set algorithm parameters.
Training the RL Agent
Choosing an RL Algorithm
Select the RL algorithm that best fits your RL environment and requirements. NevarokML supports various RL algorithms that can be configured to suit different tasks.
Configuring the Algorithm
Use the NevarokML API to configure the chosen RL algorithm within the BP_BasicTrainer Blueprint. Set the hyperparameters and any other specific configurations needed for the algorithm.
Running the Learning Process
Placing the Actors in the Level
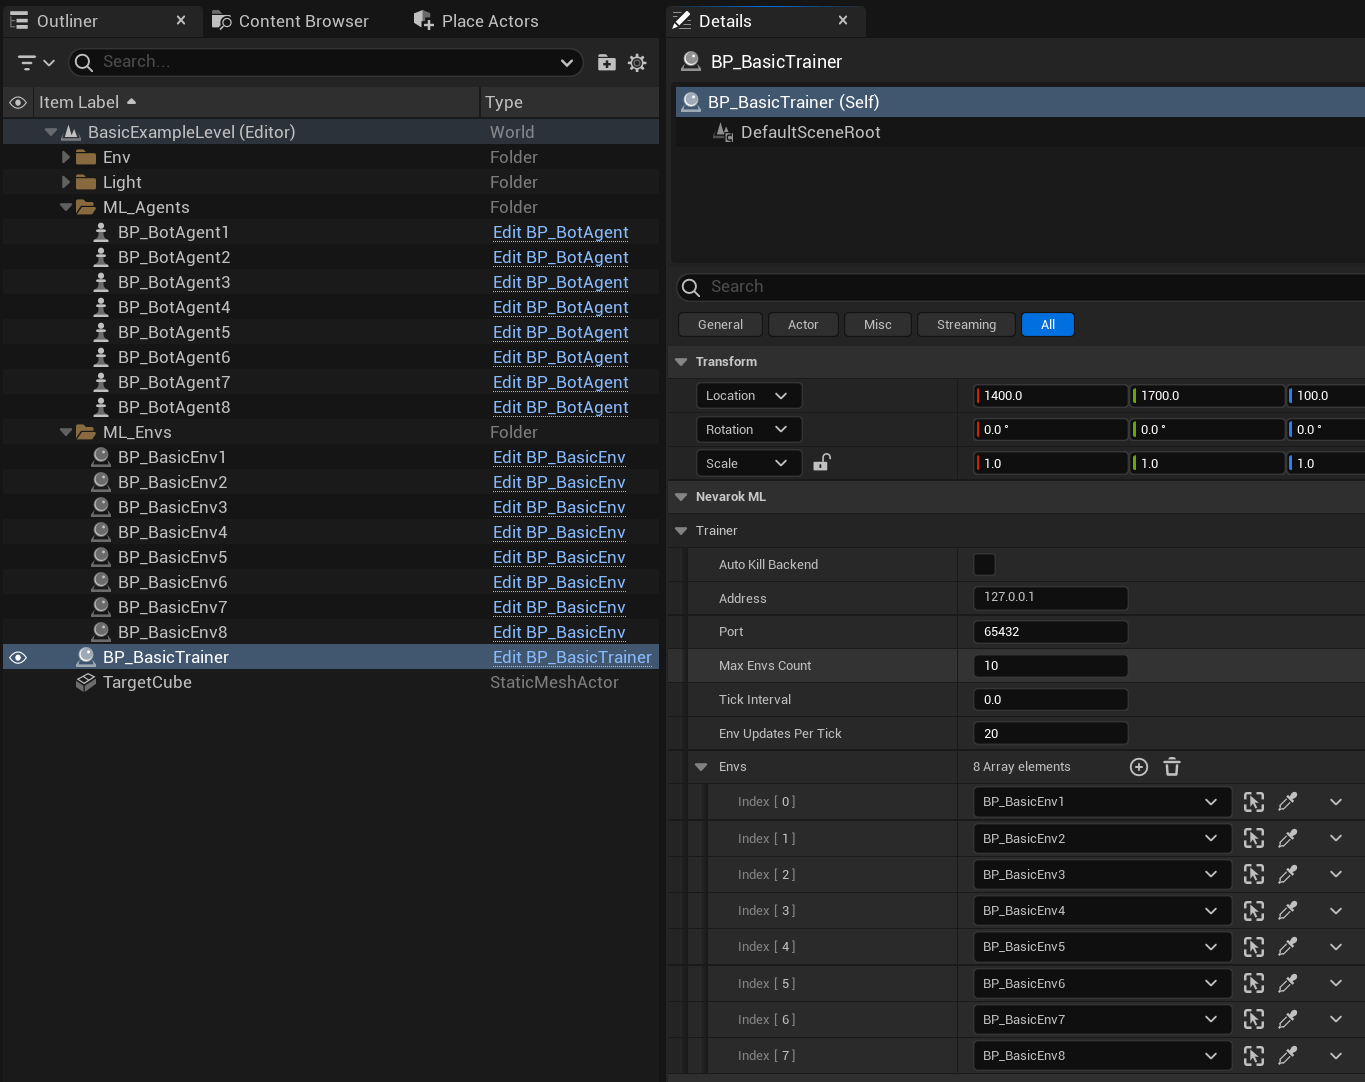
In the Level, place the BP_BasicTrainer derived Actor and the BP_BasicEnv derived Actor.
- Drag and drop the BP_BasicTrainer derived Actor from the Content Browser into the Level.
- Similarly, place the BP_BasicEnv derived Actor in the Level.
- Add placed in Level BP_BasicEnv reference to the BP_BasicTrainer.
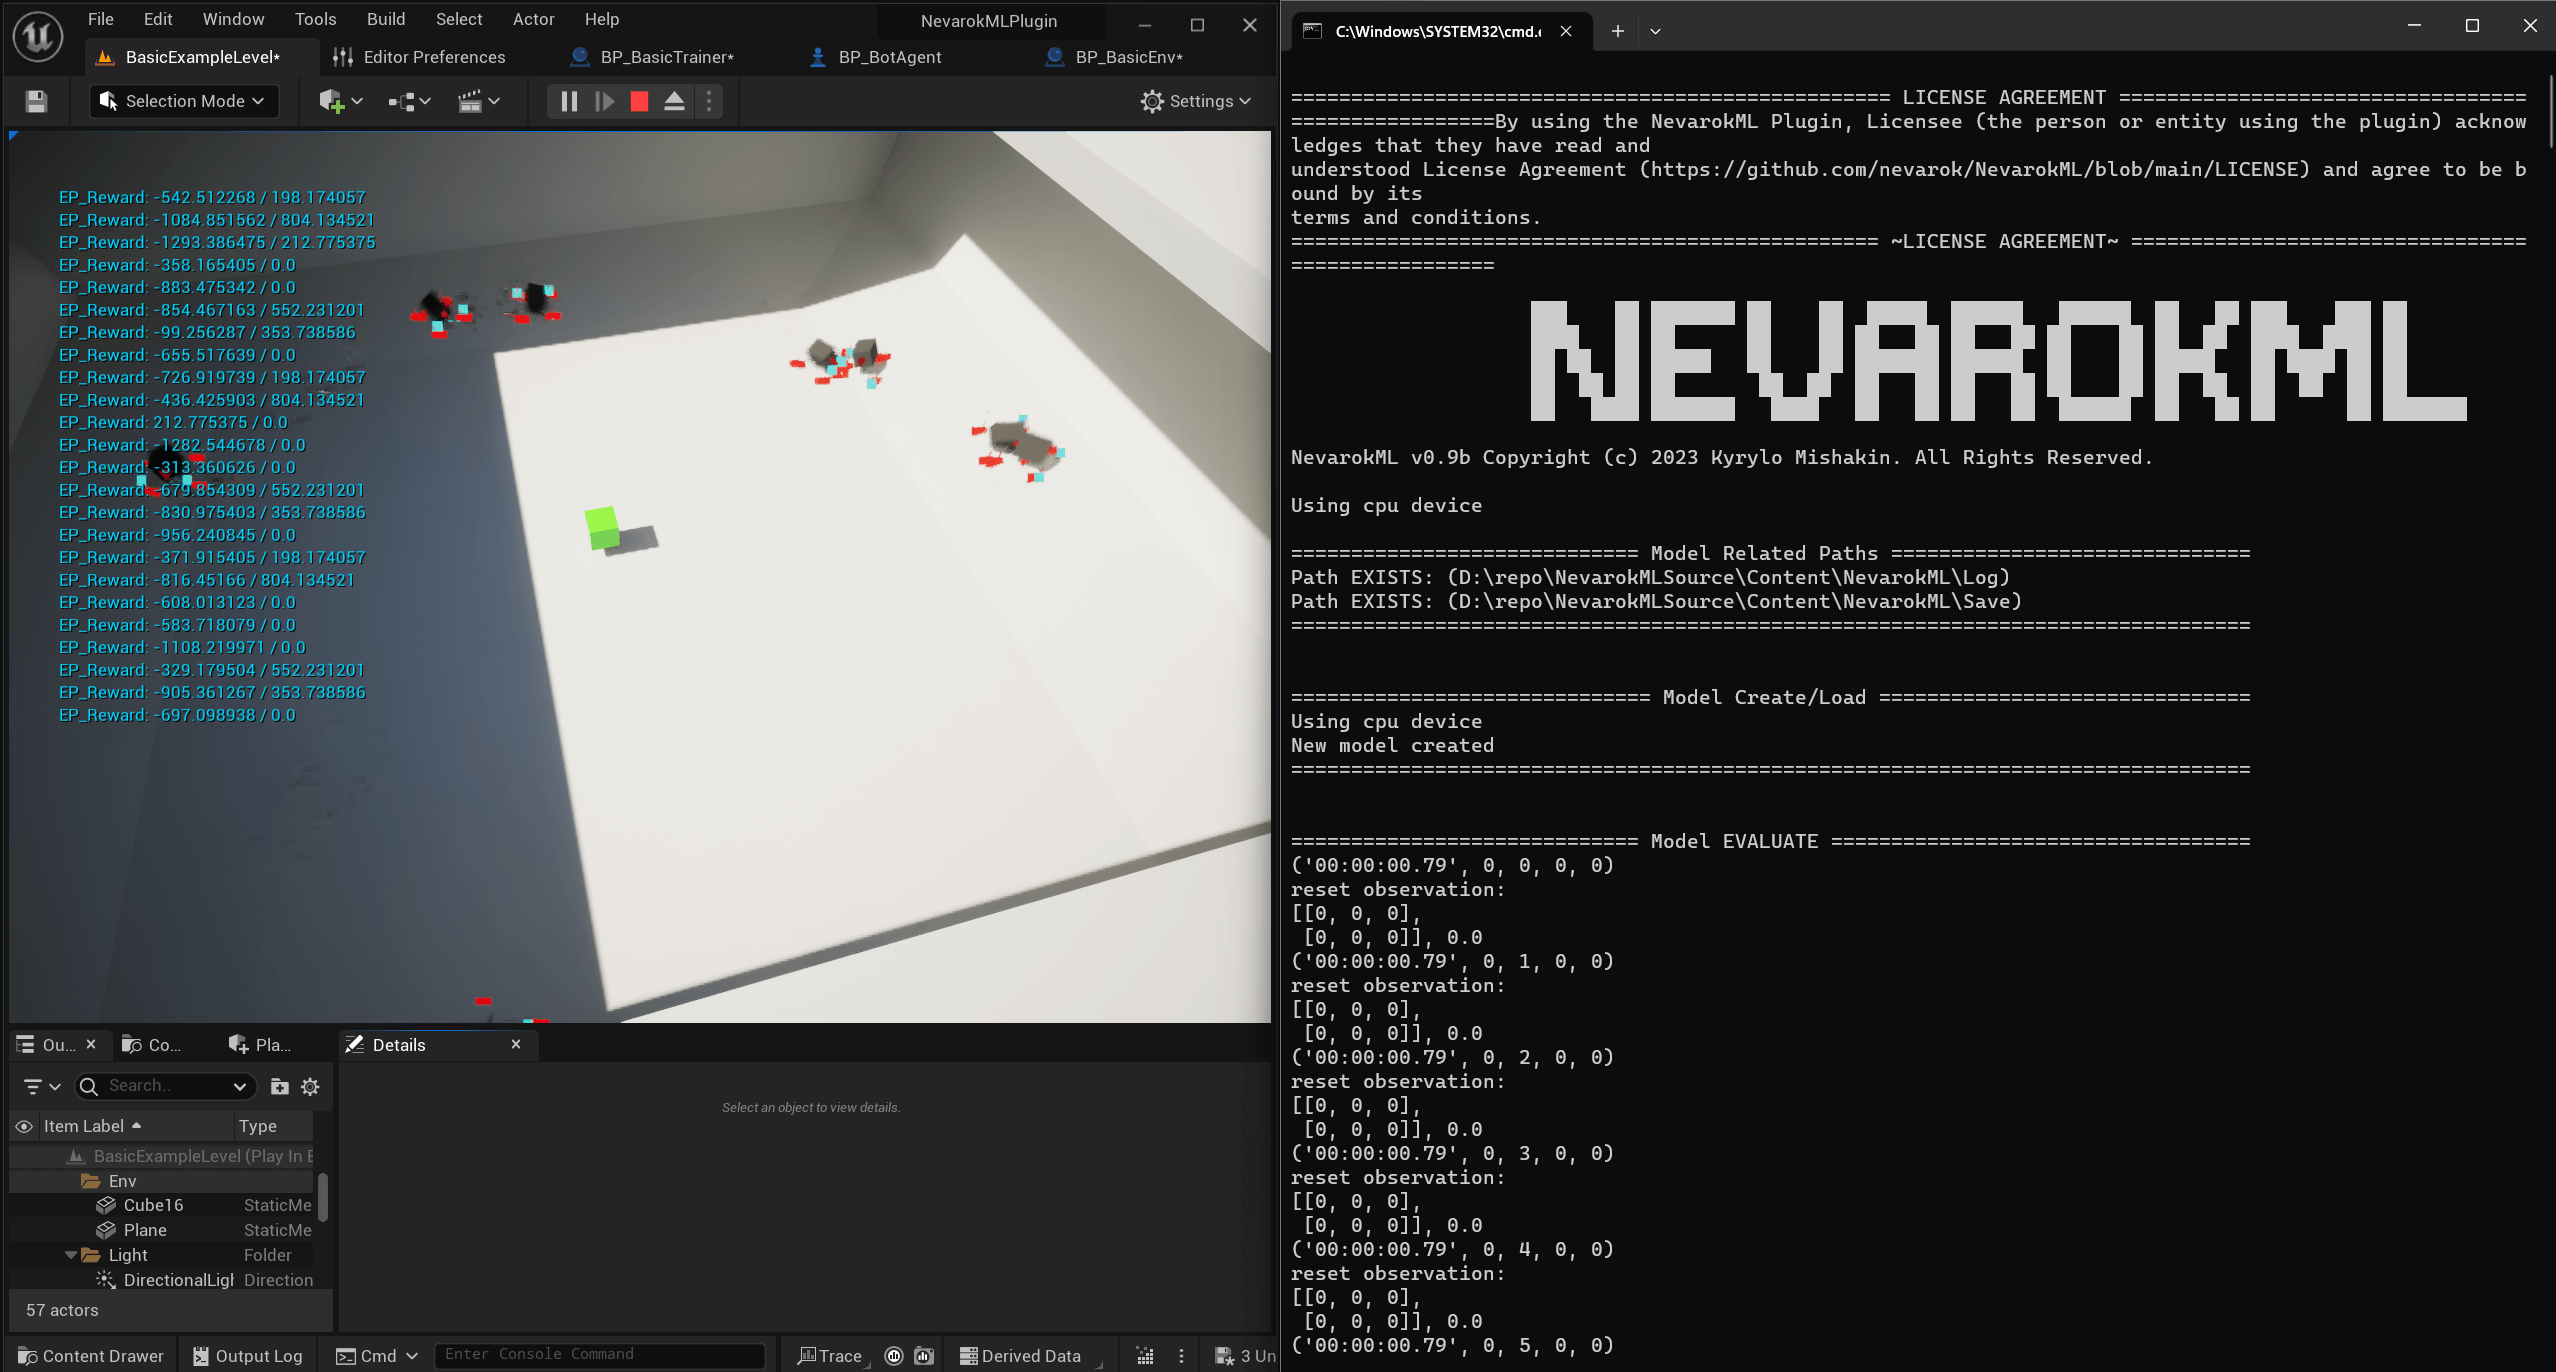
Starting the Learning Process
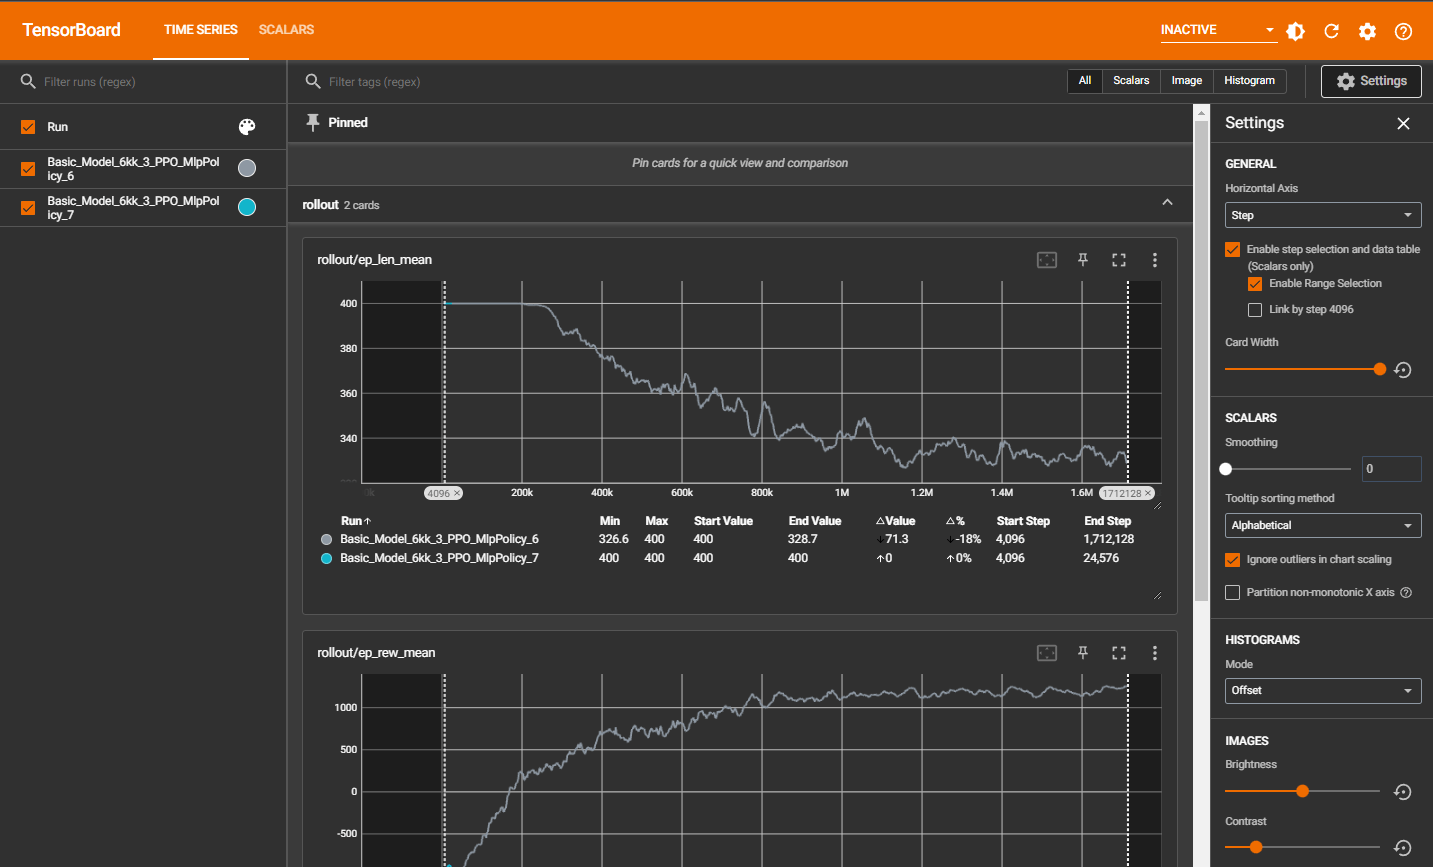
After placing the Actors in the Level, press the Play button to start the learning process. The RL agent will interact with the environment, collect experiences, and update its policy during training.
Importing the Trained Model
Upon completion of the training process, you can import the trained RL model using the regular Unreal Engine import flow. This allows you to deploy the trained agent in your Unreal Engine project for testing and deployment.
Conclusion
Congratulations! You have successfully set up and implemented reinforcement learning in Unreal Engine using NevarokML. By creating custom environments and agents and configuring RL algorithms, you can train intelligent agents for various tasks and scenarios.
For more in-depth information on NevarokML's features and capabilities, refer to the official NevarokML documentation and additional resources.